
Campus VPN Setup for Mac OS
By: Richard Glaser, University of Utah - Revised: 2019-24-12Warning - Historical Documentation
This documentation is only available for historal purposes and is NO LONGER SUPPORTED at the University of Utah.DO NOT USE THIS DOCUMENTATION FOR CURRENTLY SUPPORTED UNIVERSITY OF UTAH VPN SERVICE
The University's VPN service NO LONGER SUPPORTS IPSec for VPN access.
Current - VPN Documentation
Cisco AnyConnectYou need to use the Cisco AnyConnect software to access the campus VPN service. All University student, staff and faculty can download the software from the University's Office of Software Licensing website or by opening a web browser to the website vpnaccess.utah.edu and login with your uNID, password and 2FA passcode.
For updated documentation, please see the following University of Utah IT web page:
https://uofu.service-now.com/it/?id=search&spa=1&q=vpn
Table of Contents
Documentation is available here:Introduction
This is step-by-step manual setup of University of Utah Cisco VPN for Mac OS built-in VPN tool.
VPN Setup for Mac OS 10.6
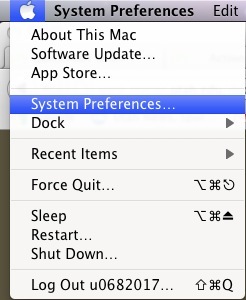
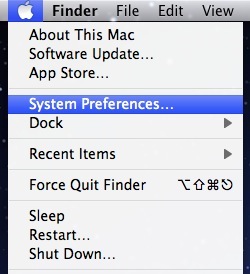
Step 1: Open System Preferences => NetWork
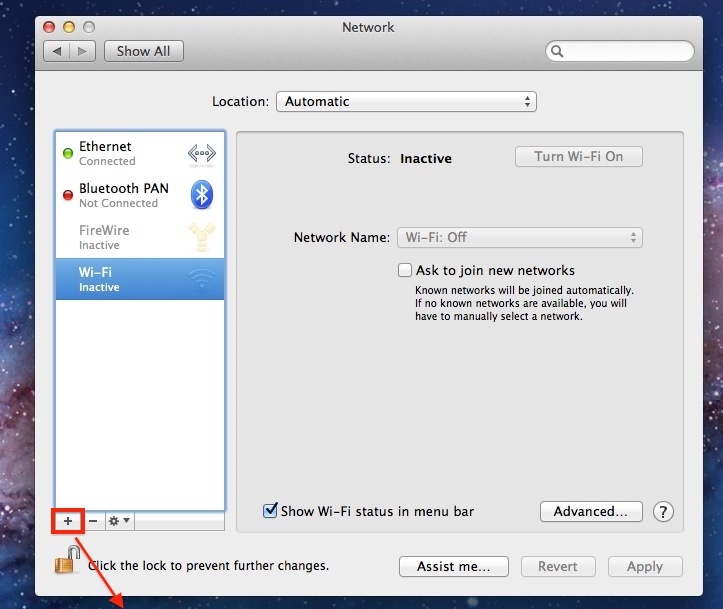
Step 2:
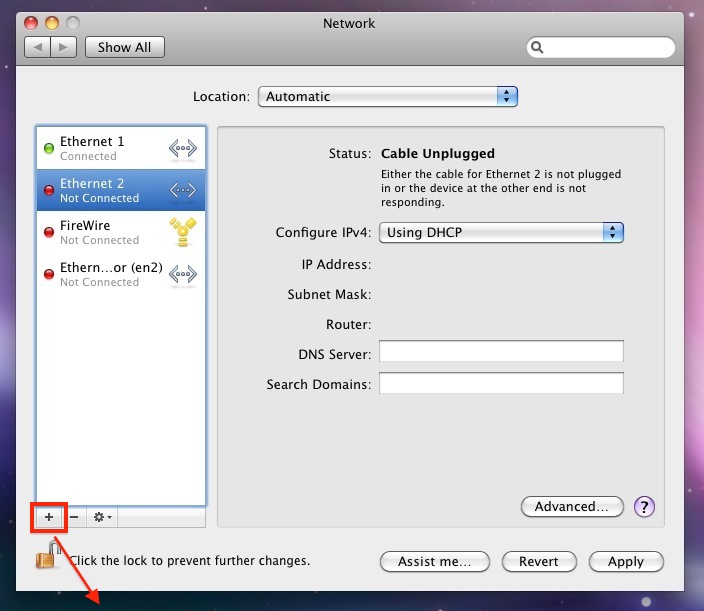
Click on "+" to add an VPN connection.
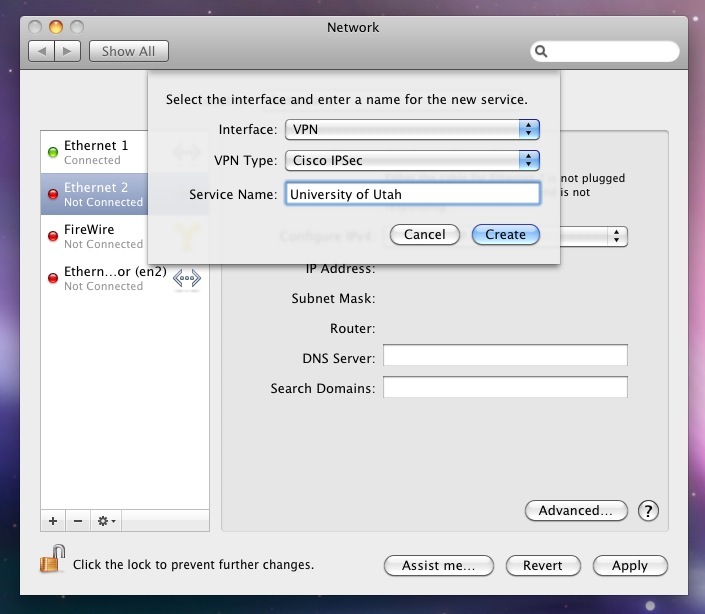
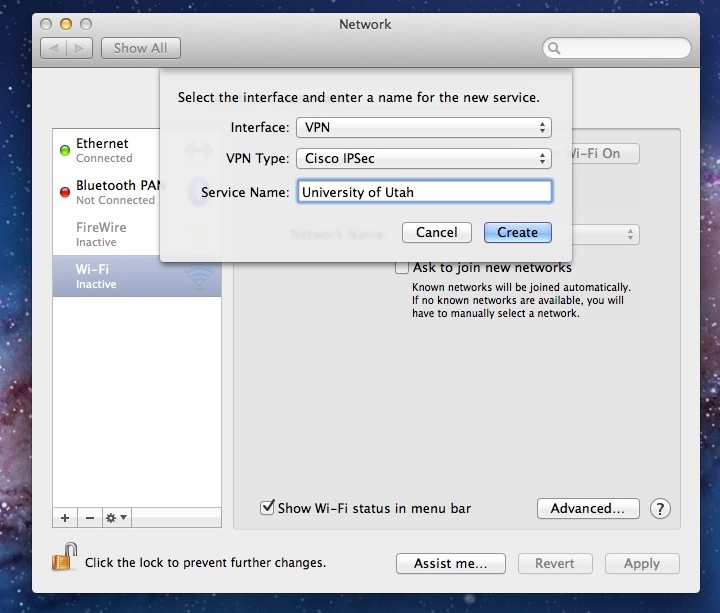
Step 3:
Choose "VPN" as Interface.
VPN Type: Cisco IPSec.
Give a Service Name: University of Utah.
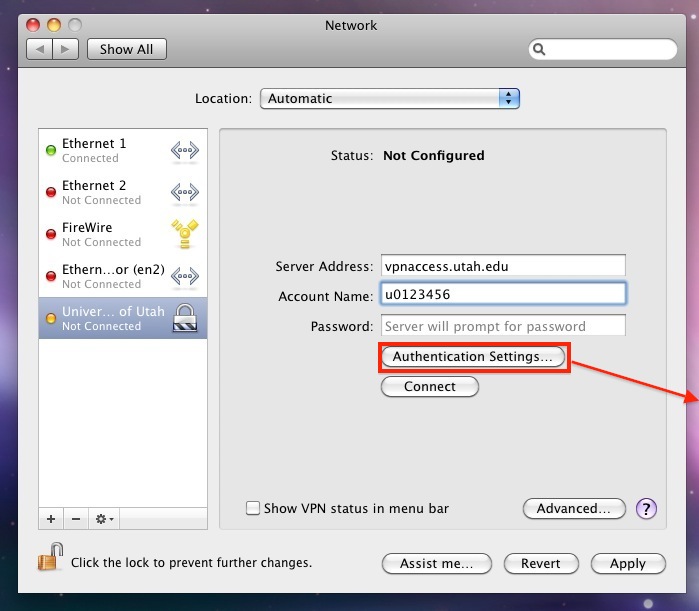
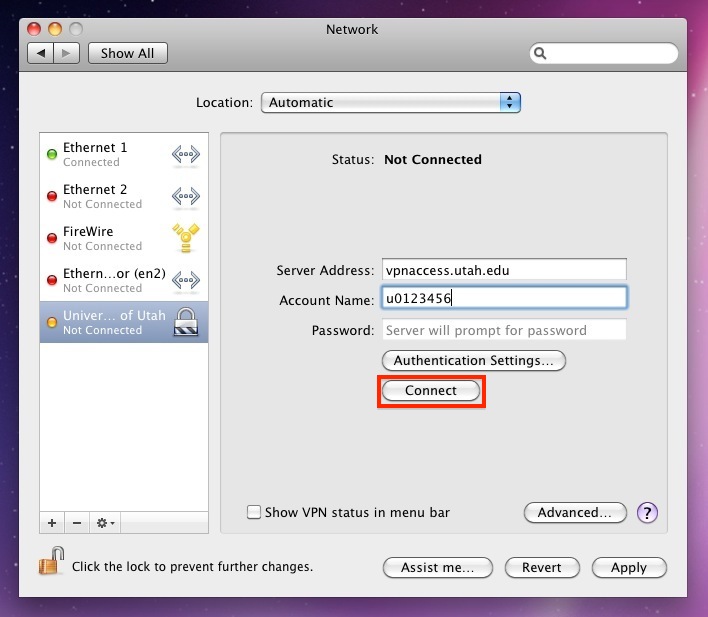
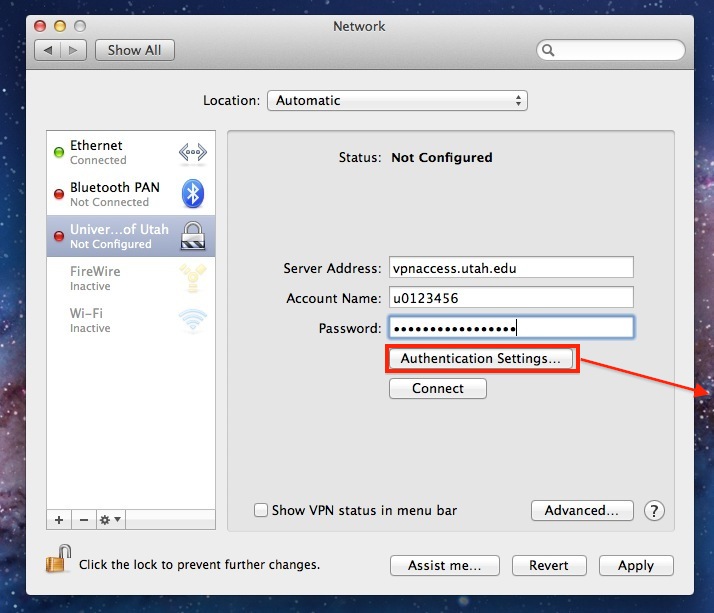
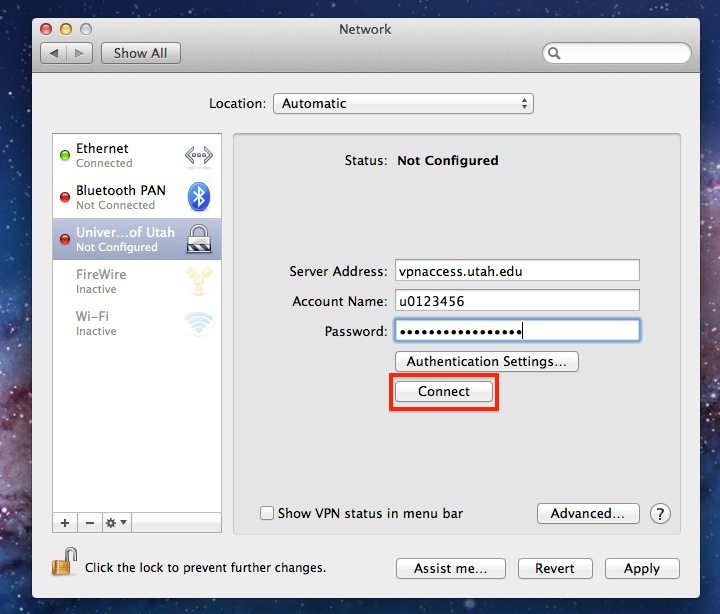
Step 4:
Server Address: vpnaccess.utah.edu
Account Name: your uNID ("u0123456",i.e.)
Don't put your password here.
Click on "Authentication Settings"
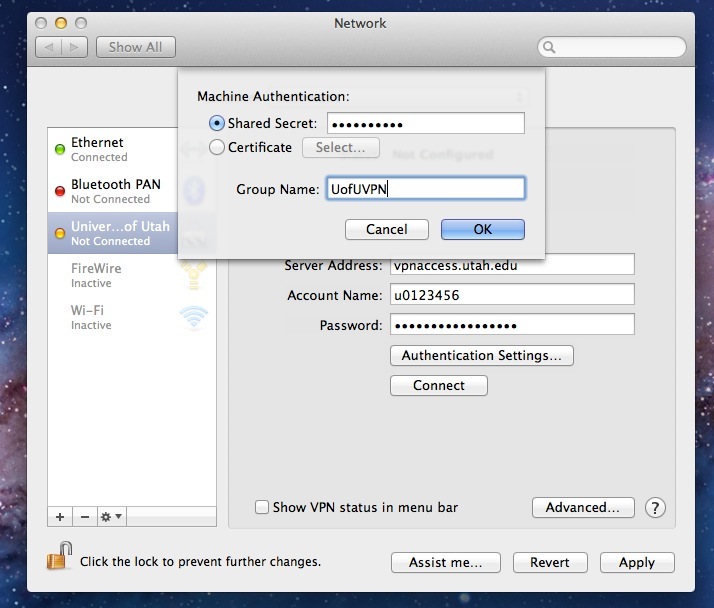
Step 5:
Please contact Campus Help Desk at 801-581-4000 option 1 for Shared Secret password.
Enter Group Name: UofUVPN
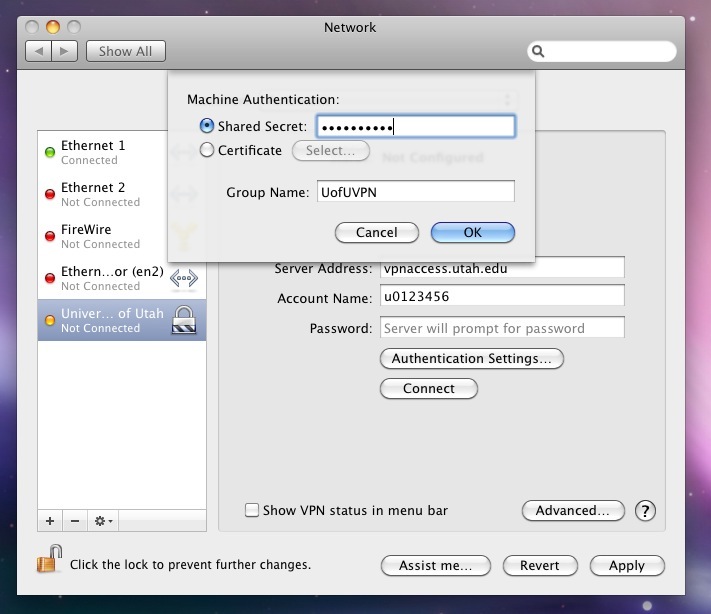
Step 6:
Click on Connect
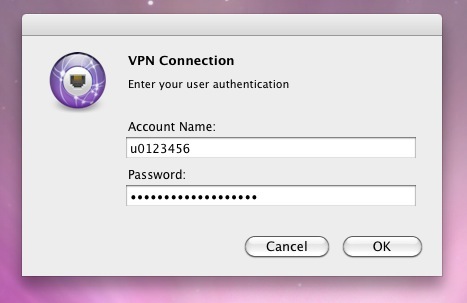
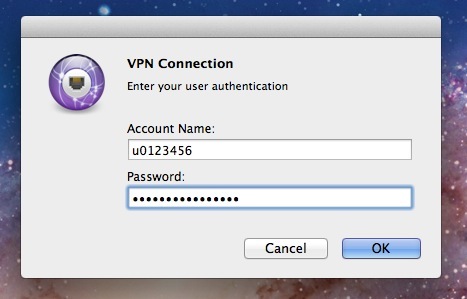
Step 7:
Enter your password and click on OK.
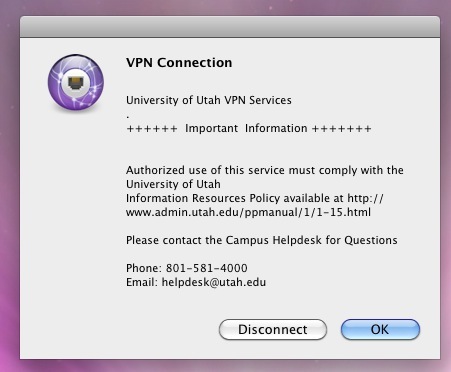
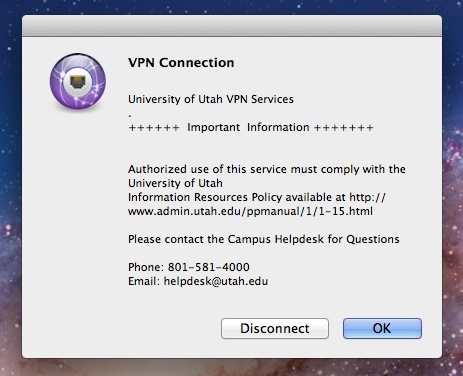
You will see this message when you successfully conntected to campus VPN:
VPN Setup for Mac OS 10.7
Step 1: Open System Preferences => NetWork
Step 2: Click on "+" to add an VPN connection.
Step 3:
- Documentation
- Administration
- Backup Overview
- BRU
- Casper Suite 8
- CrashPlan Pro
- Data Rescue II
- Data Sanitation
- Duti
- Enterprise Deployment
- Iceberg
- Intro to Mac Mgmt
- iOS & Campus Exchange
- KeyServer
- Keyserver 6
- LanSchool
- Local MCX
- Mac OS X on Campus
- MPP
- Nagios Class
- NetBoot on Client
- Network Time
- Non Admins Scripts
- Parallel Computing
- Patch Management
- Poorly-Made Apps
- Power Management
- Power Save Mac
- Profiles - iOS 6
- Profiles - iOS 7
- Profiles - iOS 8
- Software Installation
- SpamAssassin
- Tracking Software Updates
- VPN Setup for Mac OS
- Xgrid
- Authentication
- General Software
- Hardware
- Miscellaneous
- Multimedia
- Networking
- Operating Systems
- Outside Presentations
- Programming & Scripting
- Security
- Servers
- Short Courses
- System Deployment
- System Utilities
- What's New
![]() ©2022 - University of Utah - Marriott Library - ITS - Apple Infrastructure
©2022 - University of Utah - Marriott Library - ITS - Apple Infrastructure
Disclaimer - 295 South 1500 East, Room 1705J, SLC, UT 84112 - 801.581.6494