
Installation
By: Mikio Moriyasu - Revised: 2006-06-27 devinIntroduction
Once they had been prepared, each screen was installed using these procedures.Section Links
Step 1: Remove Speaker Housing
The speaker unit along with the power switch components, are protected by a housing that is held in place with clips and tabs. To open the housing, press in on the two clips visible on its left side and tilt the housing out. To remove the housing, carefully slip the tabs located on its ride side out from the front faceplate.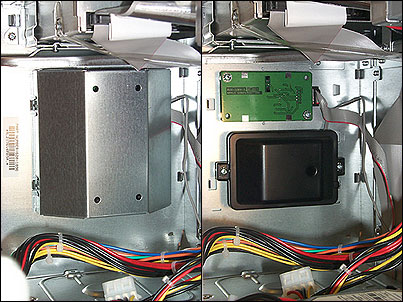
Step 2: Detach Speaker Unit
The self-contained speaker (the black object) is located below the power switch components and is held in place by two screws. Using a screwdriver, detach the unit from the front faceplate.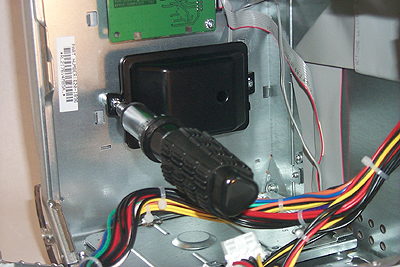
Once the speaker has been detached, lay it down to one side taking care not to touch the speaker transducer, loosen any of the nearby wiring harnesses, or touch the power switch components.
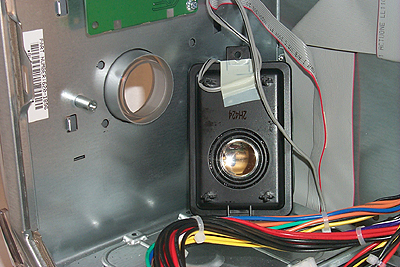
Step 3: Install Metal Grille
Take the metal grill and carefully slip in onto the front of the speaker unit.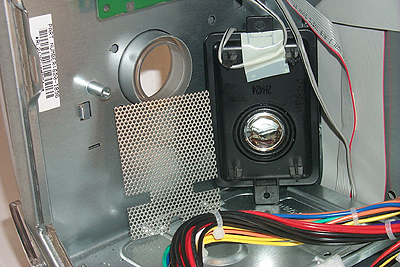
Make sure that the grille has not caught on either of the two supports, is lined up with the notch for the screw, and is laying flat on the surface of the speaker unit. Again, be careful not to touch the speaker transducer, loosen any of the wiring harnesses, or touch the power switch components.

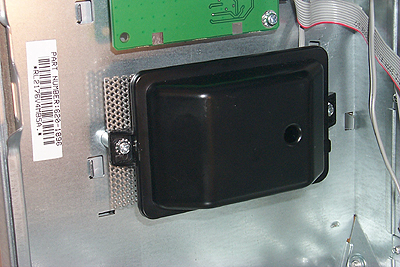
Step 4: Reattach Speaker Unit
With the metal grille in place, place the speaker unit back up against the front faceplate. Make sure that the four supports are in the four corresponding openings on the faceplate and that the notch for the screw is still aligned correctly.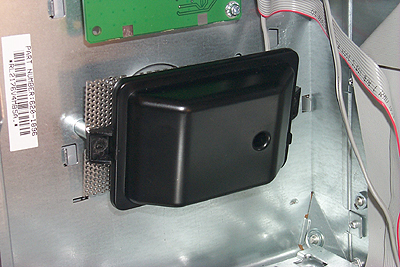
Reattach the speaker to the front faceplate with the screws. Since a foreign object that was not meant to be in front of the speaker to begin with has been added, constant pressure will need to be applied to the speaker unit as it is being resecured.
- Documentation
- Administration
- Authentication
- General Software
- Hardware
- Miscellaneous
- Multimedia
- Networking
- Operating Systems
- Outside Presentations
- Programming & Scripting
- Security
- Servers
- Short Courses
- System Deployment
- System Utilities
- What's New
![]() © - University of Utah -
Marriott Library -
ITS - Apple Infrastructure
© - University of Utah -
Marriott Library -
ITS - Apple Infrastructure
Disclaimer - 295 South 1500 East, Room 1705J, SLC, UT 84112 - 801.581.6494